As someone over the age of 60, you know that once upon a time, taking photos required a full-fledged camera. Nowadays, it can be done from the comfort of your phone. What’s more, the iPhone has some of the best resolution out there, as well as other features that can totally transform the photos you take.
Initially, it may be confusing and even overwhelming trying to adjust to your new device. However, with the right photography tips, you’ll be well on your way to impressing your family and friends with your know-how. Here are some of the most useful iPhone photography tips to get started with.
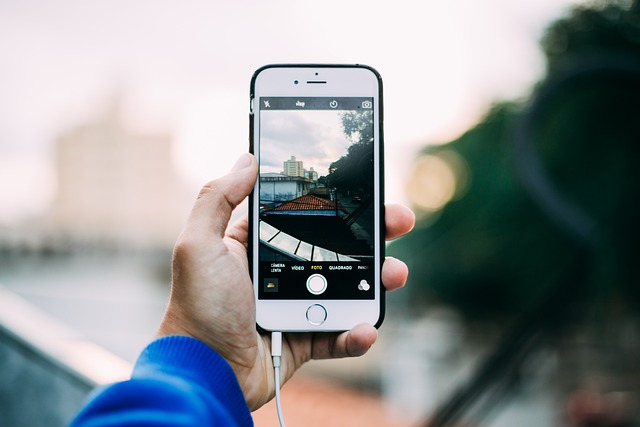
Get to Know the Settings
First things first— you’ll have to get to know your camera settings. Start by experimenting with all of the different settings, from portrait mode to wide-angle. Play around with the depth of field and test out the different levels of resolution. Changing the HDR will help you capture higher detail in high-contrast photos. The more you get to know each of the settings, the more you’ll be able to play around with them and use them to your advantage depending on the type of photograph you’re taking.
Use Portrait Mode
Some of the most beautiful photographs you’ll take will be done in portrait mode. Portrait mode allows you to increase the depth of field, giving you that blurry background effect and professional feel. Portrait mode may take some getting used to at first since you need to make sure you’re at the right distance from an object or person. However, once you master it, people will be asking where you went to photography school.
Use the Grid Feature
One of the best parts of digital photography, as opposed to a traditional camera, is the grid feature. The grid will allow you to divide the screen into thirds, helping you center your main subject. Aligning everything in just the right place will help you create a balanced photo that’s pleasing to the eye. By aligning whatever you’re taking a photo of within the grid lines, you’ll come out with a picture-perfect finish every time.
Use Natural Lighting
One of the best ways to get a bright and clear photo is to take advantage of natural lighting. Although lamps and flashes can do the job, there’s nothing like a bright light from a natural source.
Not to mention, if you’re taking a picture of your grandkids, the flash can hurt their eyes. If you’re photographing a person, always make sure that the light is behind you rather than behind them. Otherwise, you risk getting a silhouette of them rather than capturing them in the light.